


With the rise of digital content creation, removing background music from your videos can be essential, whether it’s to avoid copyright strikes or to use different music for various platforms.
In this guide, I’ll walk you through a straightforward method to remove background music using VocalRemover.org.
Watch the Video
Understanding the Need
There are numerous reasons to remove background music from a video. One common issue content creators face is copyright strikes on platforms like YouTube. While Instagram might be lenient in this area, YouTube may reduce your video’s visibility due to copyright violations. Thus, being able to edit your video’s audio and replace background music is crucial.
The Easiest Method: VocalRemover.org

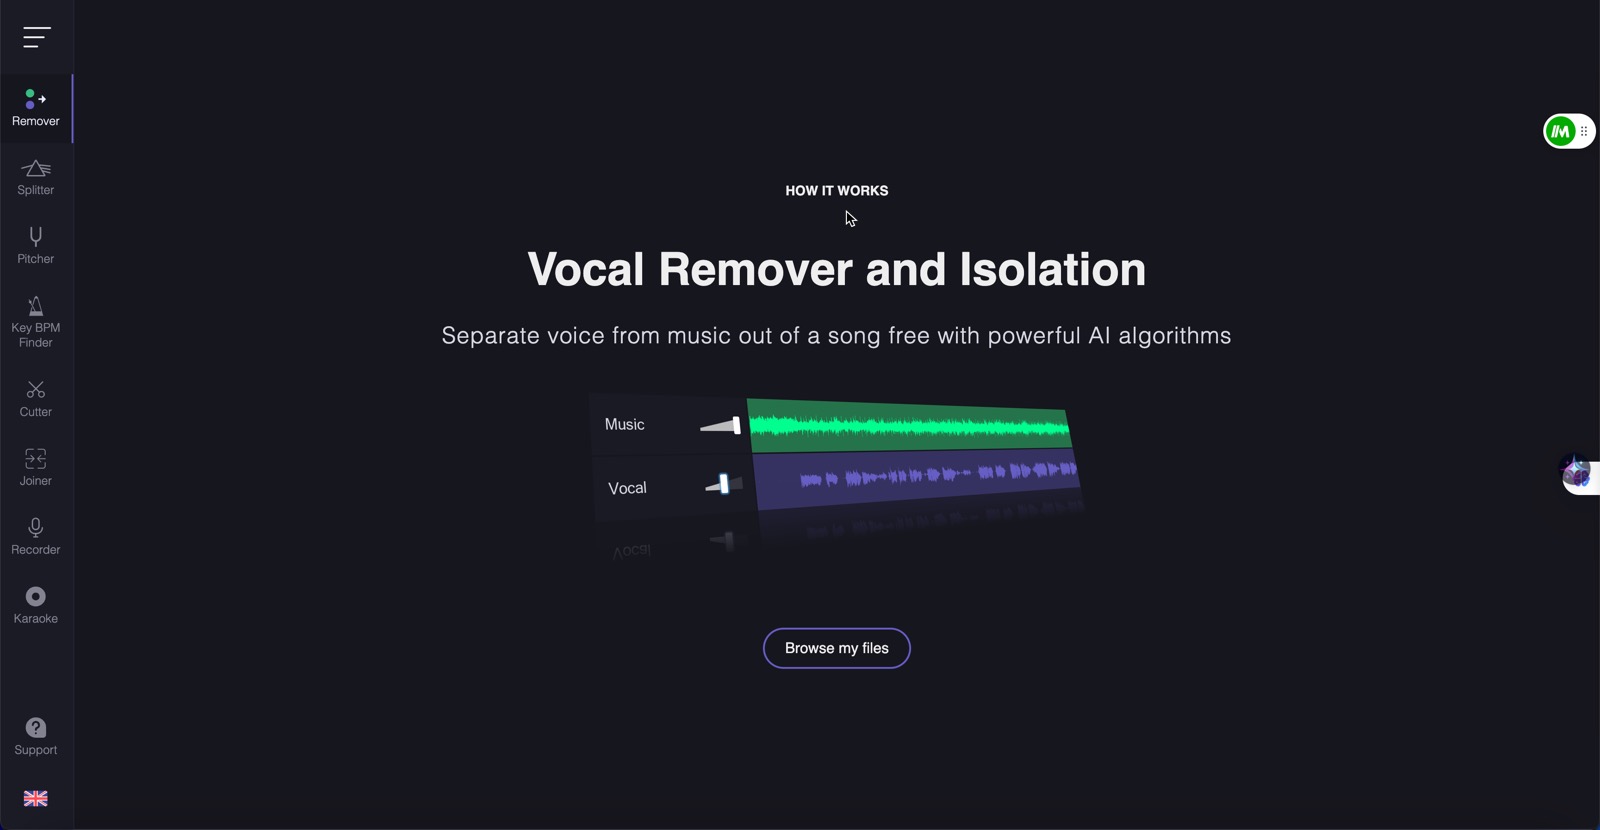
Many methods exist to remove music from your videos, but one of the quickest and easiest is using VocalRemover.org. This tool is not only valuable for creating karaoke tracks by separating vocals and music, but it also perfectly removes background music from any audio.
Step-by-Step Guide
Step 1: Preparing Your Video File
First, you need an audio file of your video. Import your video into any video editing software (e.g., Final Cut Pro, Premiere Pro), and set up a new project. Based on the video’s length, determine whether to use a short or long format. Export the video’s audio as an MP3 file since VocalRemover.org only accepts this format. Simply choose the ‘audio only’ option when exporting.
Step 2: Using VocalRemover.org
Once you have your MP3 file, drag and drop it onto VocalRemover.org. The website will process your audio and separate the music from the vocals, which might take some time depending on the video length.
Step 3: Editing the Audio
After processing, you’ll have two audio files: one with music and one with vocals. You can now reduce the music volume significantly and save only the vocals.
Step 4: Reintegrate the Audio
Return to your video editing software with your new vocals-only file. Import it, and lower the volume of the original video audio to zero, ensuring that only the new vocals play. At this point, you can add copyright-free music of your choice or export the video as is.
Step 5: Final Export
To finalize everything, adjust your export settings from ‘audio only’ to your desired video format. Export the entire composition, ensuring both video and audio components are included.
Conclusion
In just a few minutes, you’ve managed to remove background music from your video. This method is invaluable for avoiding copyright strikes and customizing your video content.
For those occasional strikes on platforms like YouTube, there’s an option within their editor to replace songs. However, it might not maintain the quality of your vocals perfectly. By using tools like VocalRemover.org and following these steps, you can achieve better results with full control over your content.
I hope you find this guide useful. Thank you for reading!